Posts from the ‘photography’ category

Darkroom training and consultancy for schools

I am often asked to visit schools to help set up a new, or reinstate an old darkroom and train the staff or pupils on film processing and printing in the darkroom.

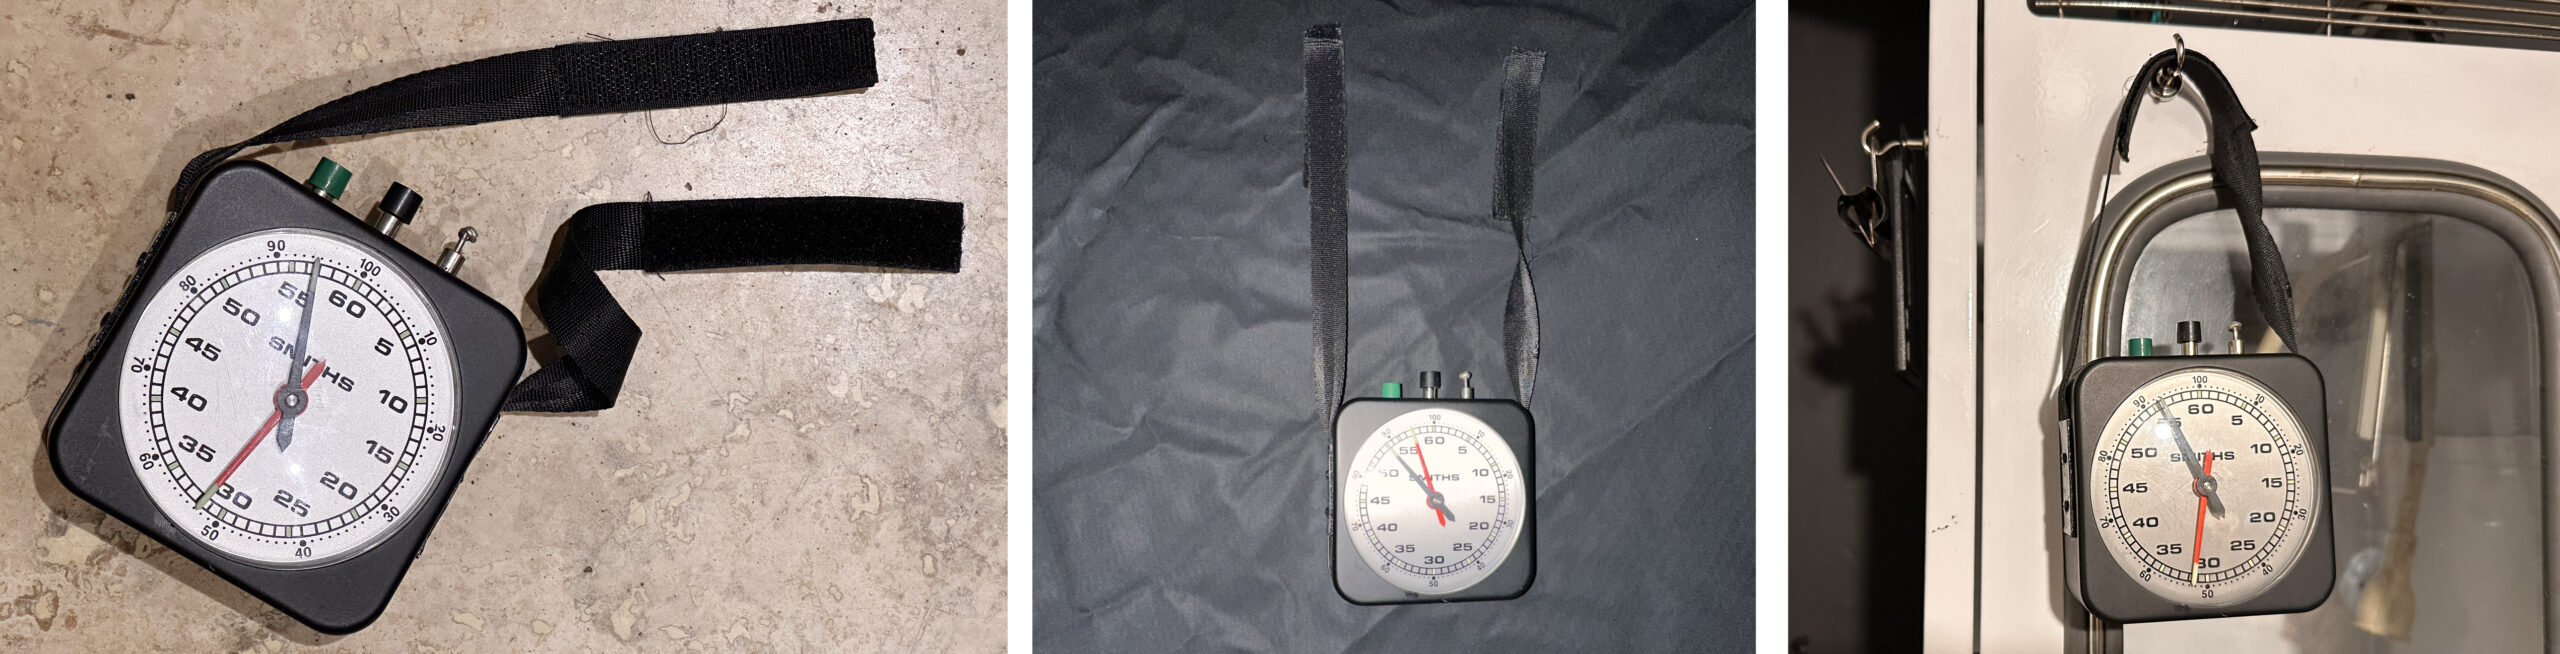
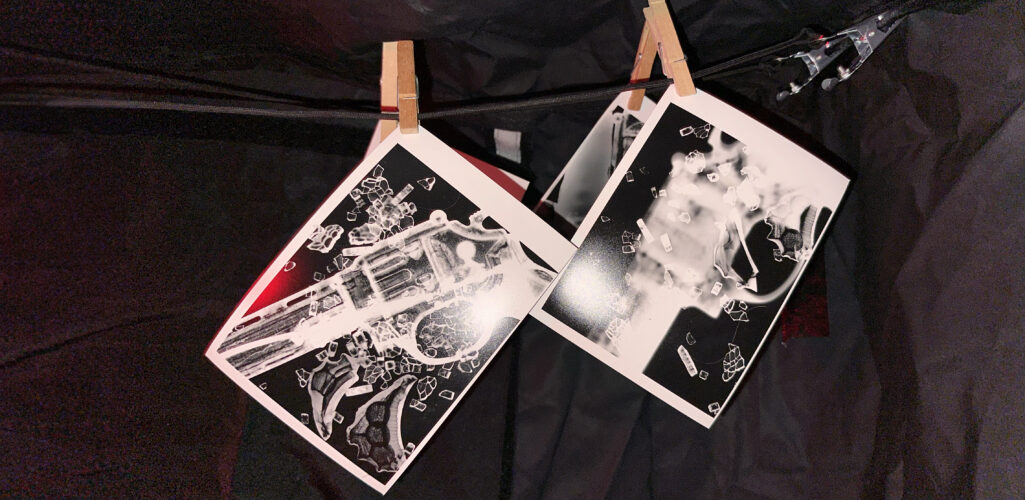
As a photographic artist, the darkroom plays a key role in my practice and allows me to produce images that would be impossible using digital techniques. I have also taught analogue photography and darkroom practice to students from GCSE to degree level and recognise the points where mistakes are often made and have developed teaching methods aimed to reduce student error.

I have also helped to develop lesson plans which can help to lesson the learning curve of analogue photography and darkroom practice.

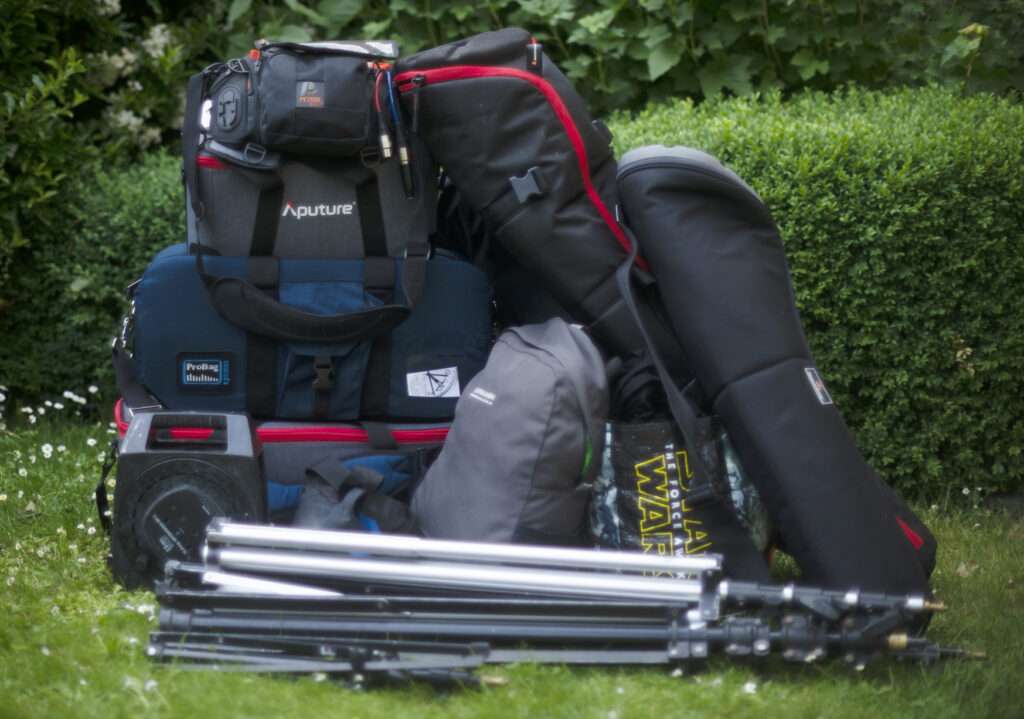
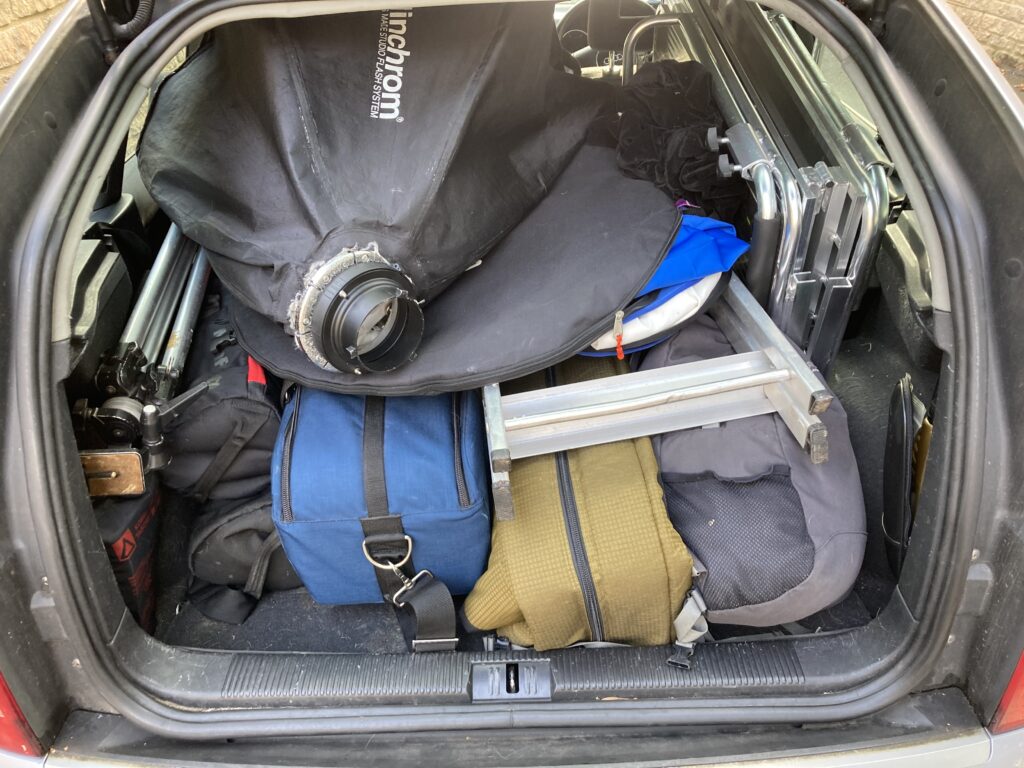
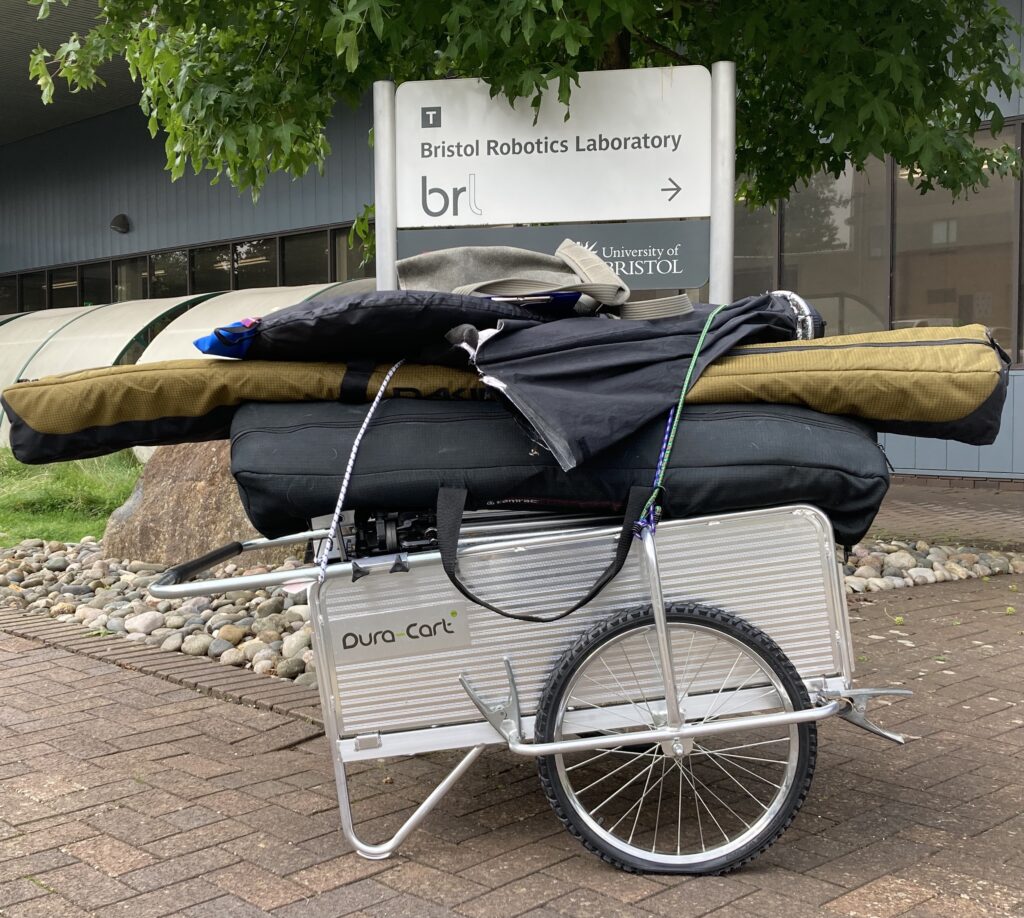
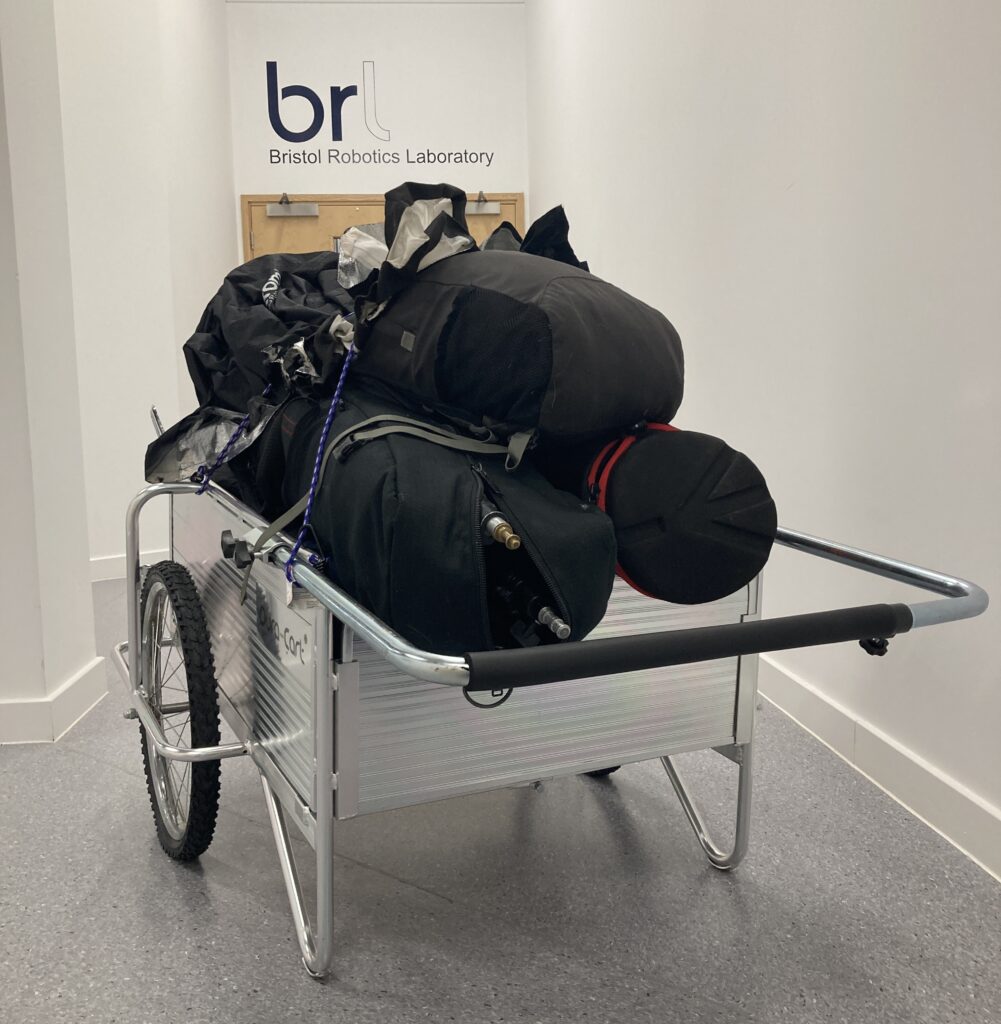
Nigel sparked not only confidence in us, in what we were going to teach the students but also newfound enthusiasm for the process. Whilst with us Nigel also spent time checking out, advising, and helping organise and clean our current darkroom that hasn’t seen much love. He advised us on best practice and items to purchase to make what we had already easier to use and more effective, he even brought along his own kit as examples and to demonstrate techniques to us. Emma Hart, Curriculum Leader, Sandy Secondary School, Bedfordshire

Darkroom consultancy services;

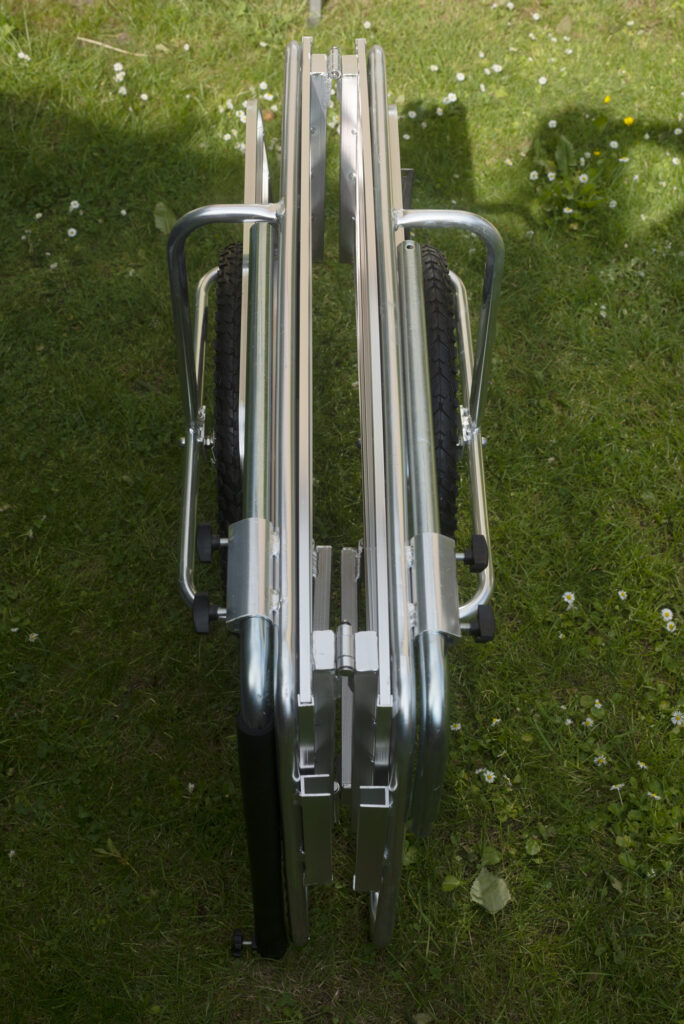
  • I can visit your school or college to assess an existing, but unused darkroom and suggest how it may be brought back to use.
  • I can provide guidance on darkroom layout, health and safety, and buying equipment and consumables for a new darkroom.
  • Provide training to staff and students on; camera less photography, analogue photography, film processing printing and experimental darkroom techniques
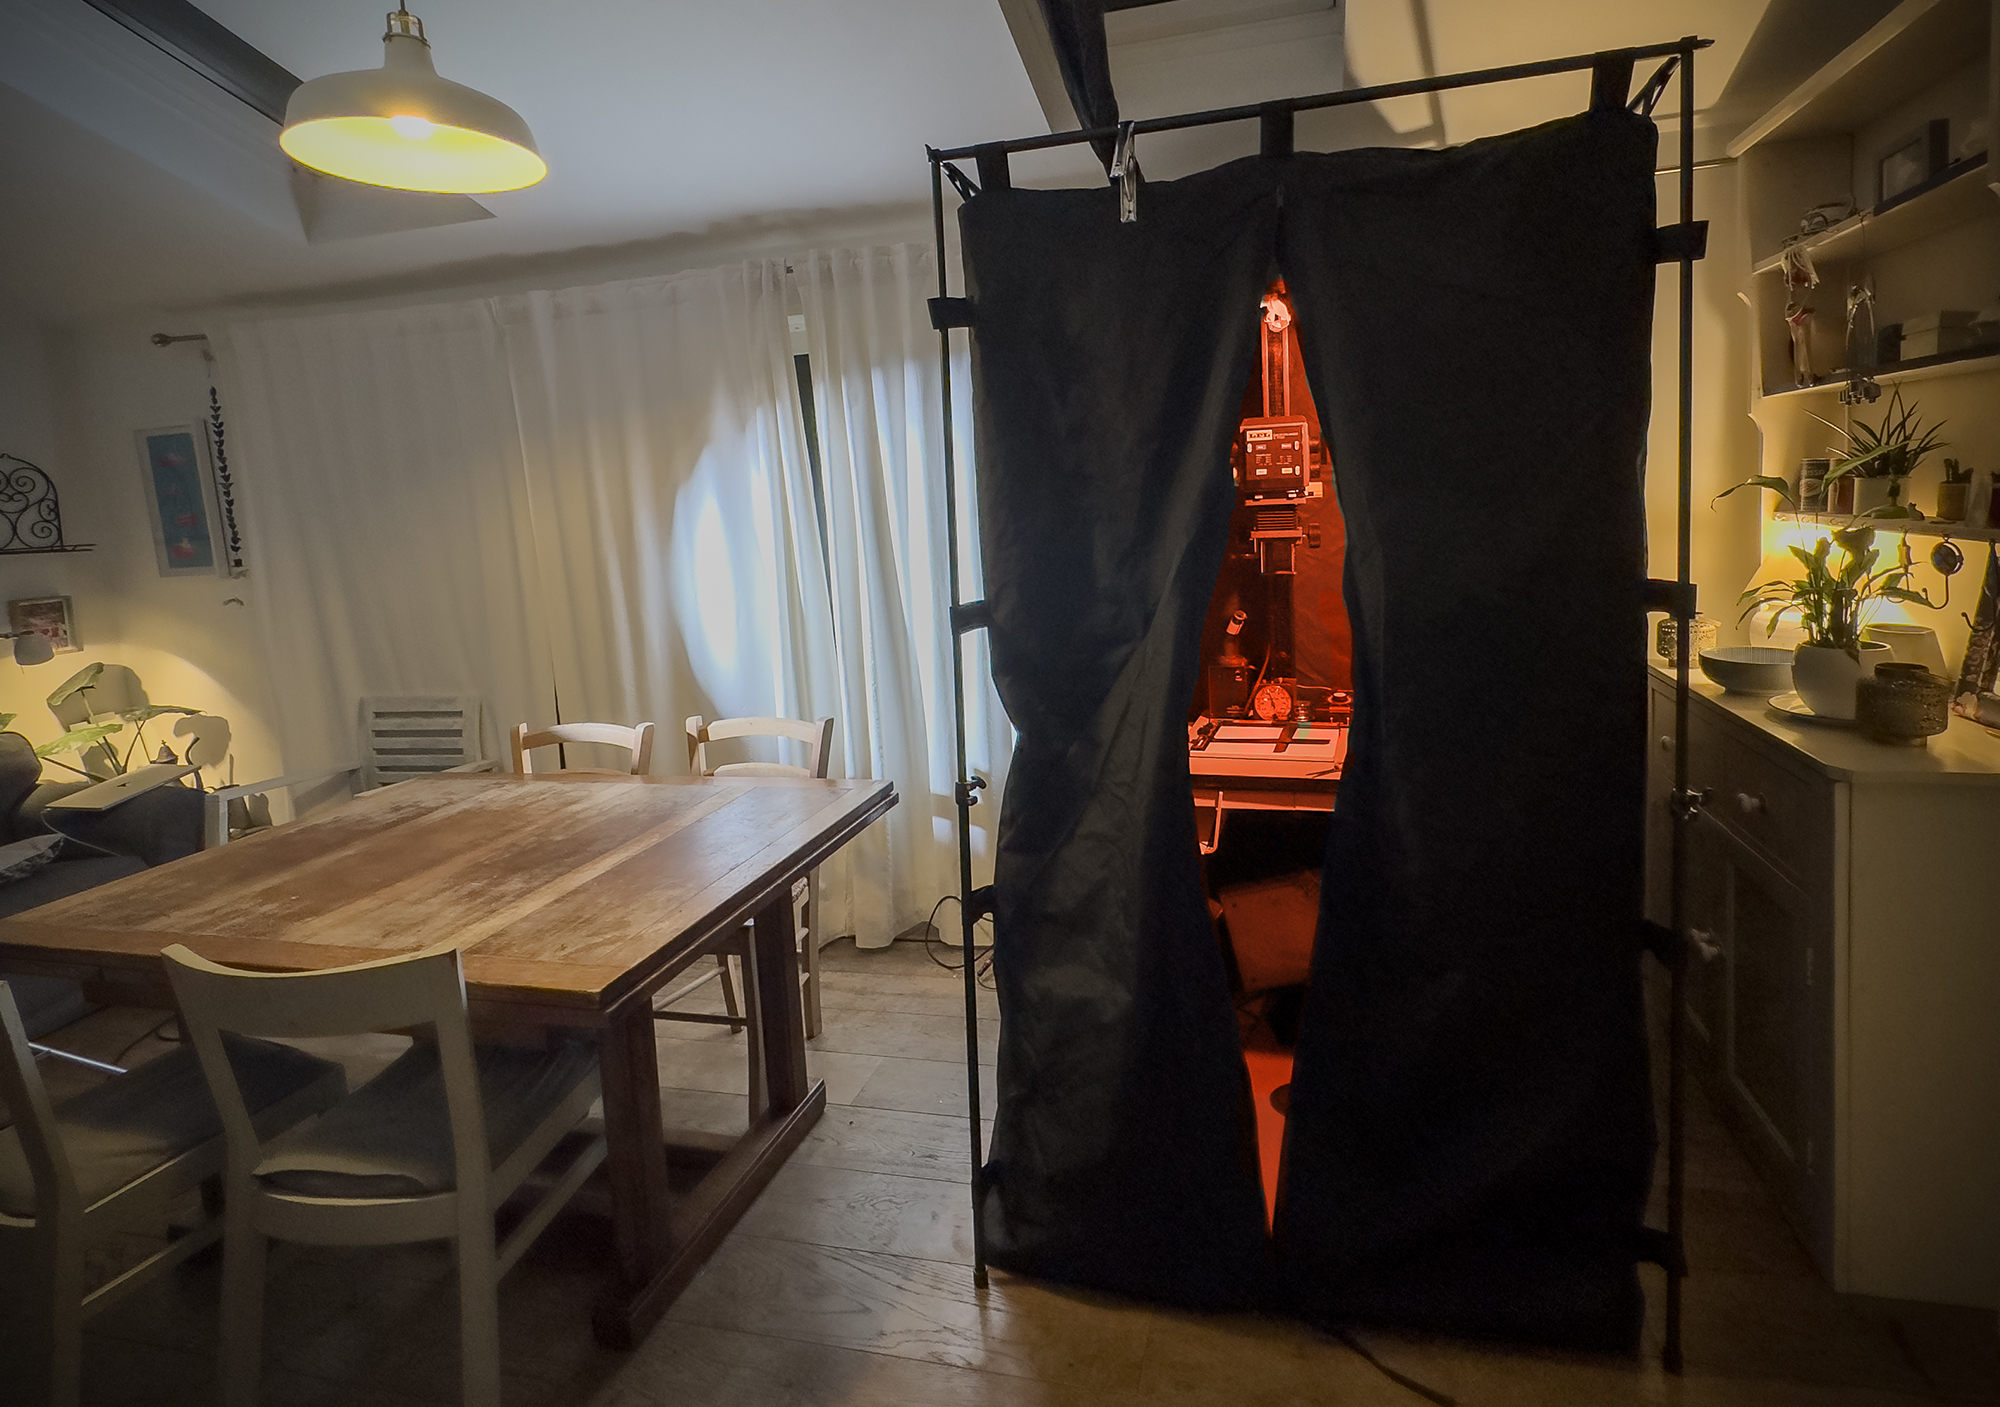
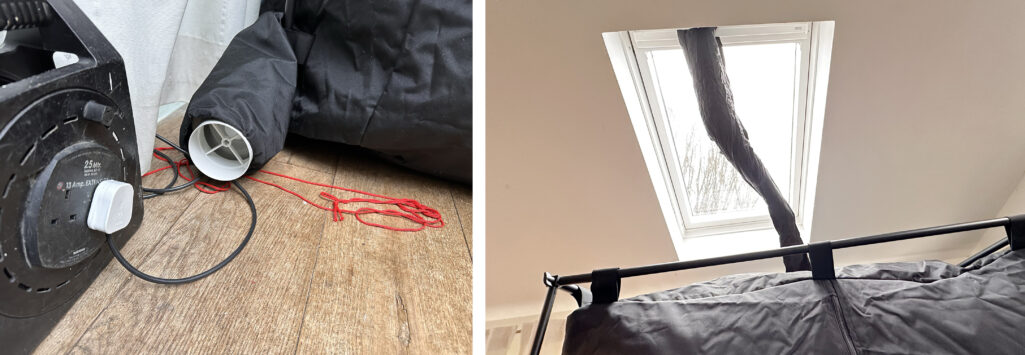
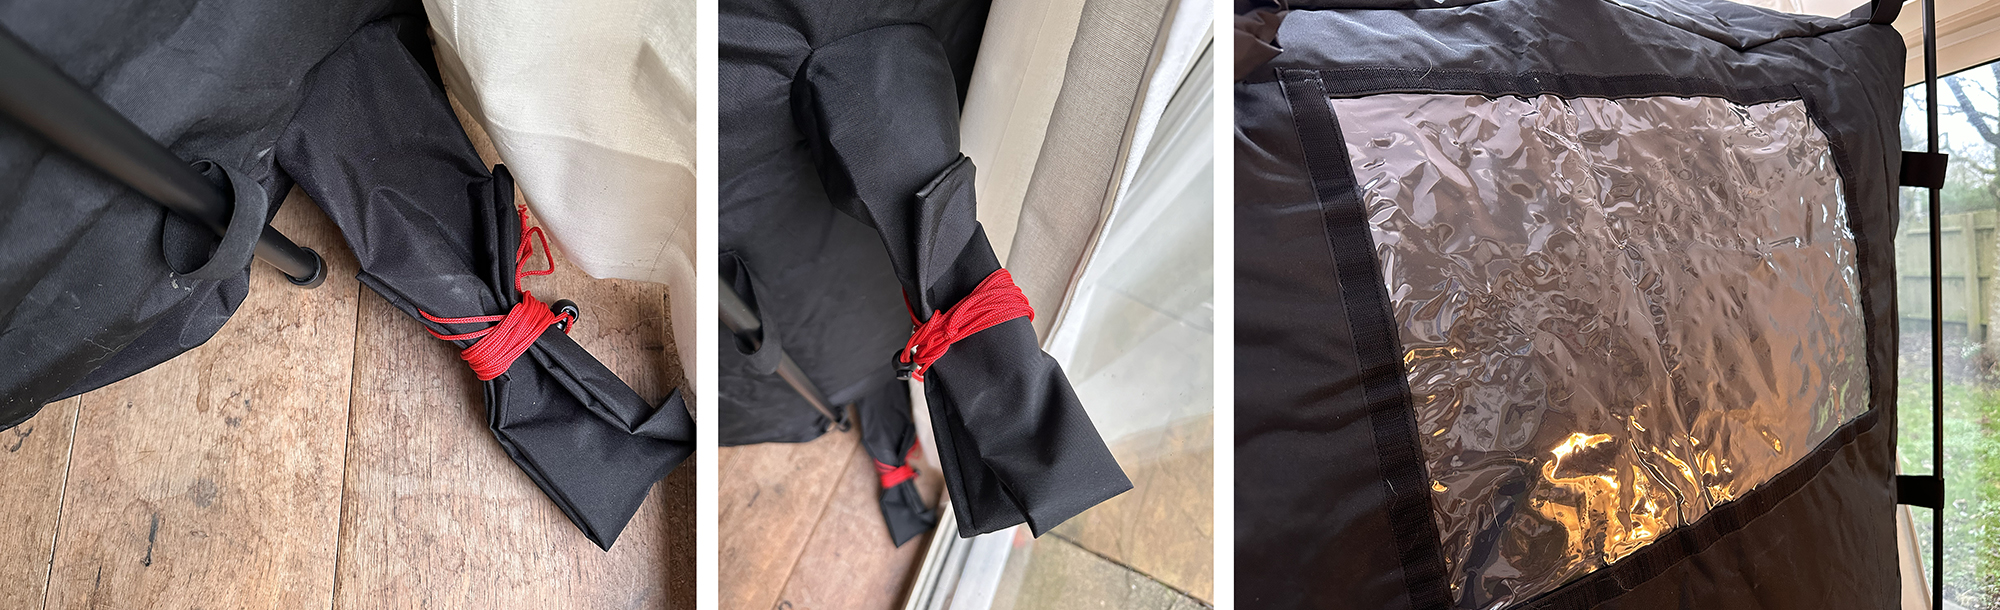
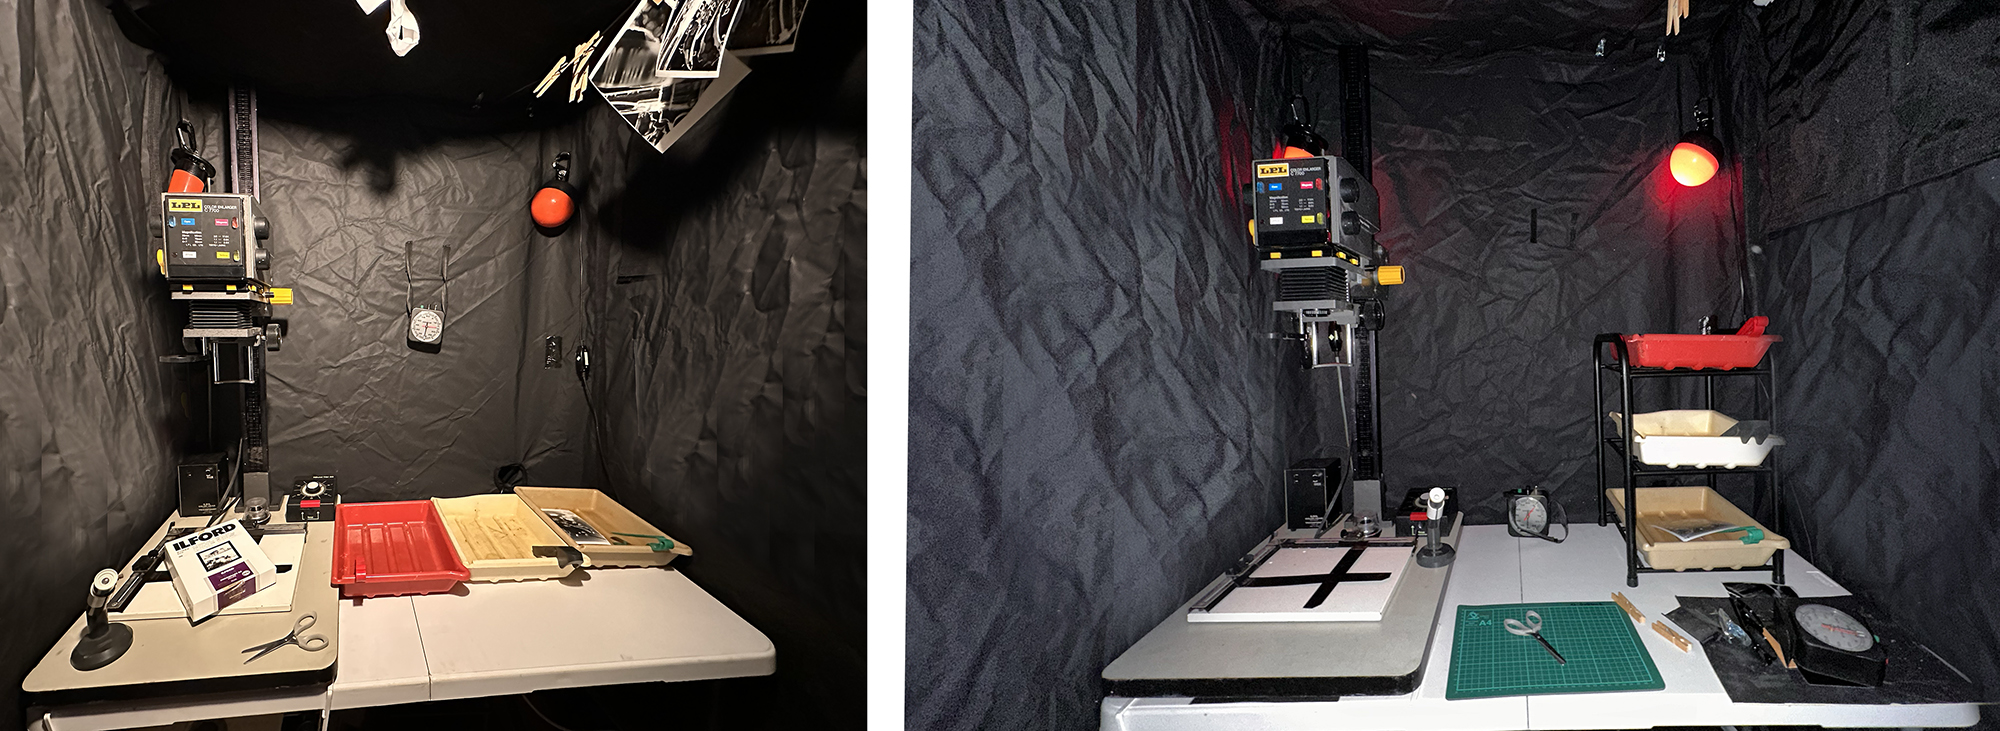
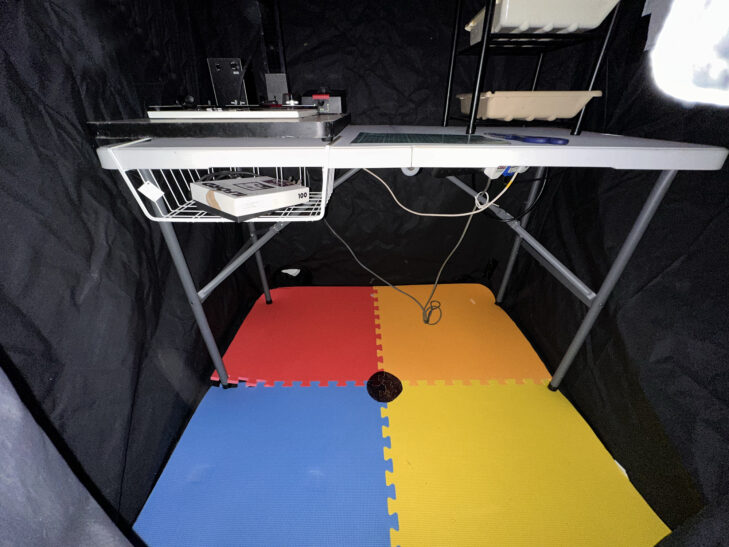
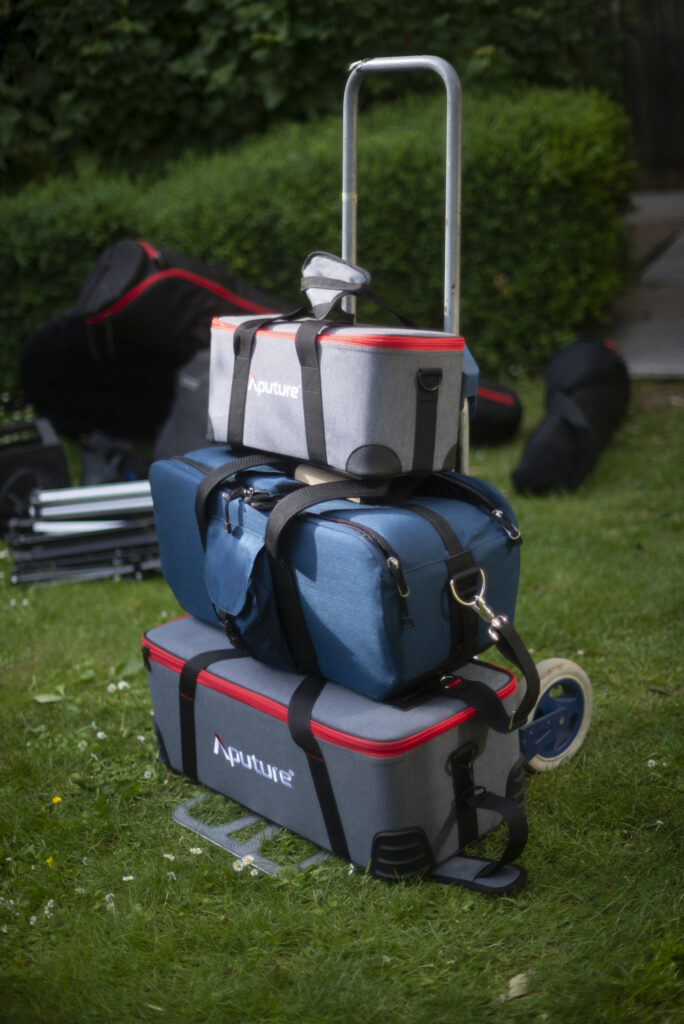
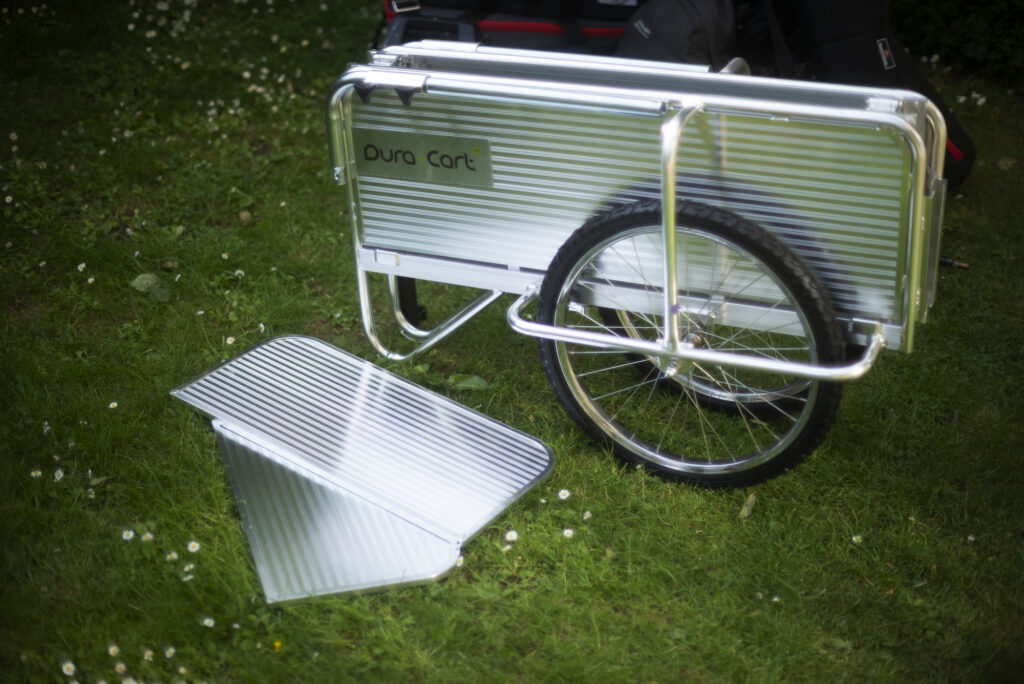
  • For schools without darkrooms that would like to see the potential of analogue photography, I can also bring a small temporary darkroom which can be set up in a classroom for a 1 day darkroom taster workshop.
  • Quick 1 hour online darkroom review (please contact me to discuss this service)

If you would like to know more, please email me or call on 07973 631185

Darkroom Chadwell Heath Academy

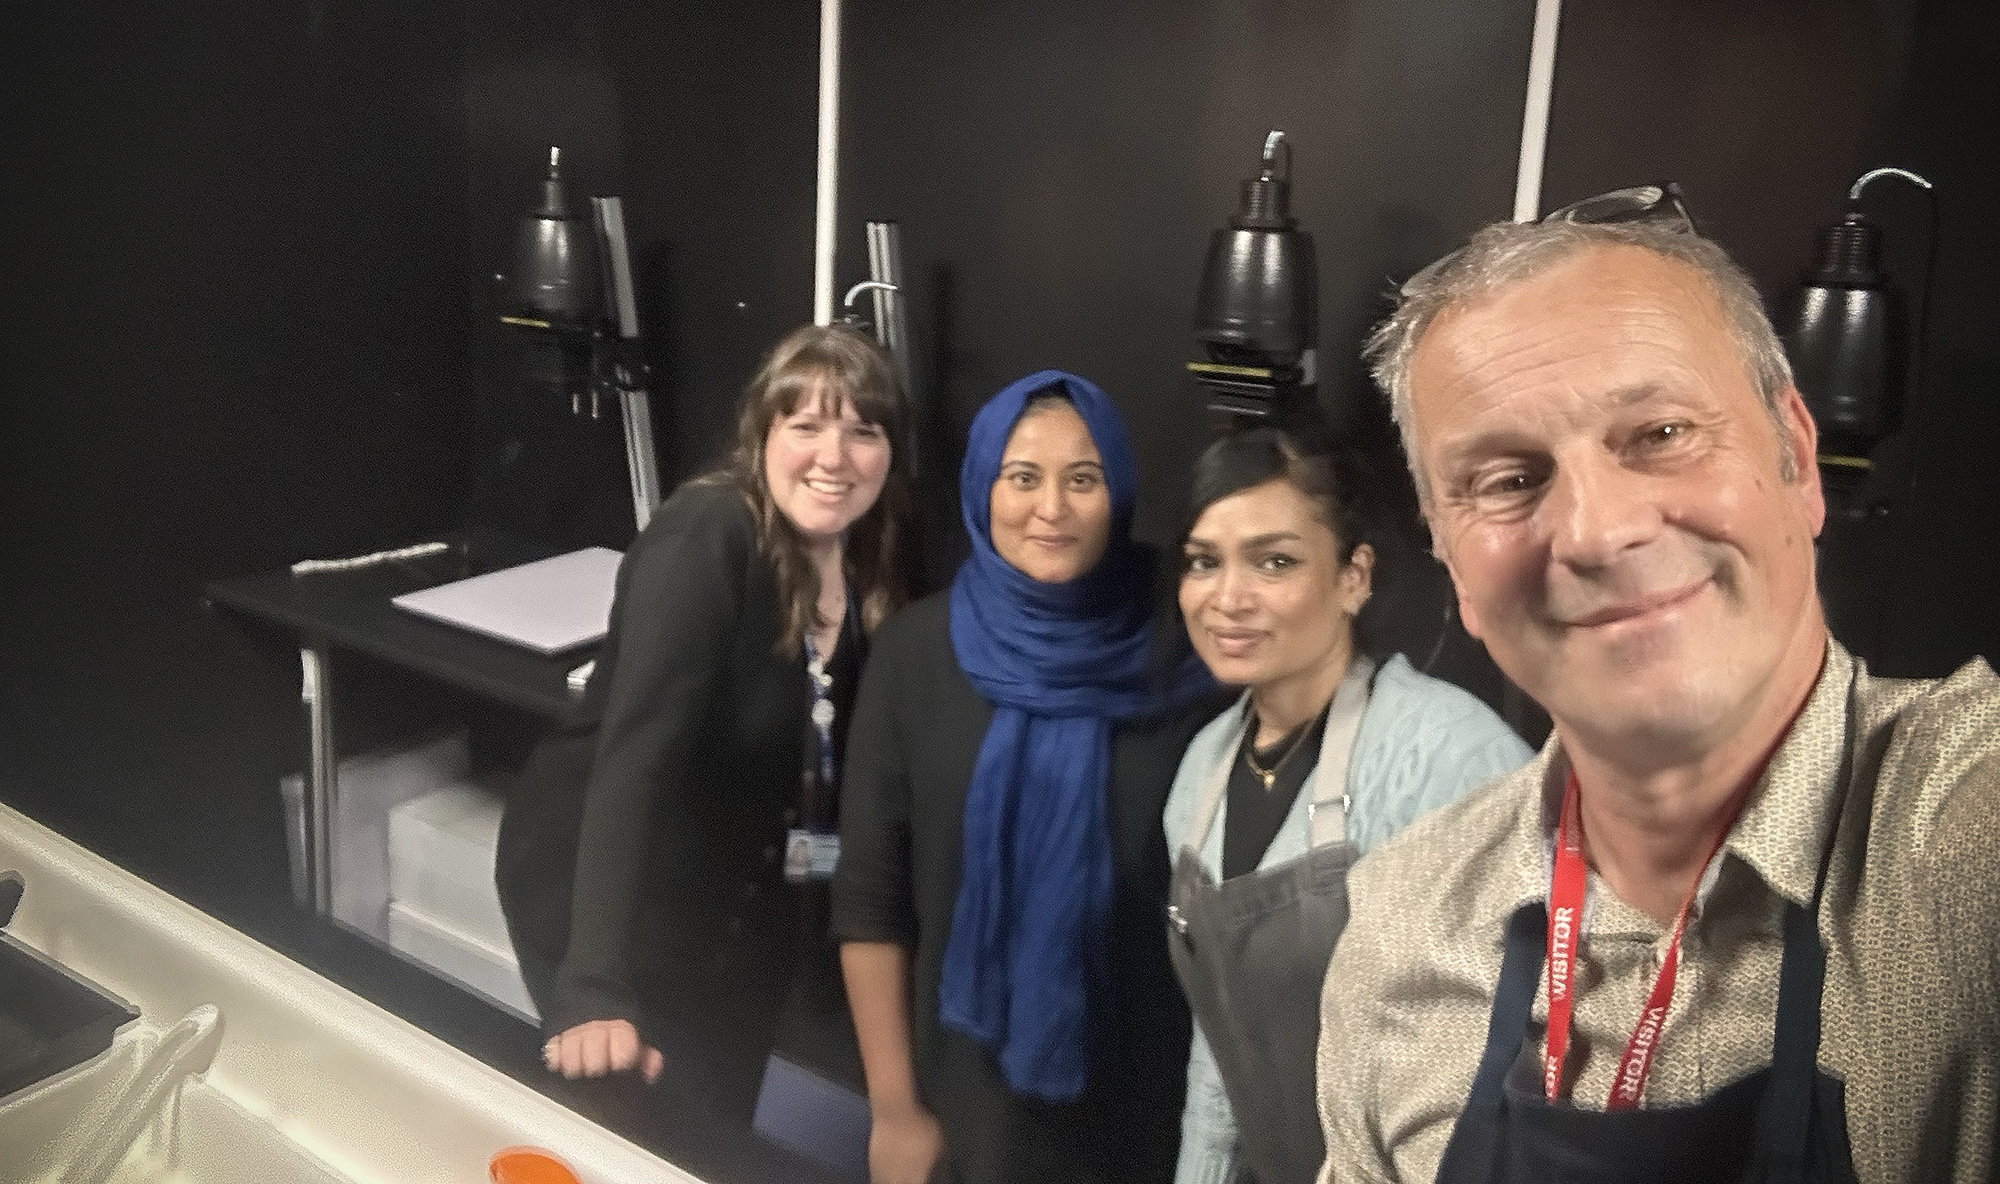
Training staff from the art department at Chadwell Heath Academy


Agriculture and rural affairs

Agricultural Photography

Jess Palmer, student at Royal Agricultural University

Portrait of Jess Palmer, Agriculture student RAU

I had the good fortune of growing up on a dairy farm in Pembrokeshire so love the opportunity to put my wellies on and take pictures down on a farm.  I was introduced to farm photography at an early age. As a toddler I appeared in a story about my parent’s farm in the Farmers Guardian.  Over the years, I have photographed most aspects of farming life. Below you will see a range of images I have taken on farms and markets across the UK.

Young family of sheep farmers in Dorset

Feature on young sheep farming family in Dorset for Farmers Guardian


Going through the shooting brief with my subjects - cow photography

Going through the shooting brief with my clients

Lifestock

Cows make great subjects, they are naturally curious and with little encouragement will come right up to you in a field. While this makes close-up shots easy, you cannot put your camera bag down for long or their curious noses will leave a trail of drool over all of your kit.

Brown Swiss Cattle, Rancourt Farm near Swindon

Brown Swiss Cattle and Friesians , Cancourt Farm near Swindon, for National Milk Records

Free range hens for Farmers Guardian

Free range hens


ewe and lamb in field

Ewe and lamb in field for Farmers Guardian

Ewe with two lambs in field

Ewe and lambs – Farmers Guardian

Ewe and lambs

Ewe and lambs for Farmers Guardian

Brown Swiss Cattle, Rancourt Farm near Swindon

Brown Swiss Cattle, Cancourt Farm near Swindon for National Milk Records


Piglet

Piglet, Newton Farm for Farmers Guardian

British Blue bull in field

British Blue bull in field for Farmers Guardian

Free range pig

Free range pigs for Farmers Guardian

Turkey

Turkey for Farmers Guardian

Angus cow

Location portraits

Every visit to a farm requires a few portrait images of the people behind the enterprise. I always try to provide atmospheric images that give a sense of the day to day working environment and the unique quality of the farm.

Portrait of farmer sitting in off road vehicle

Portrait of sheep farmer for Farmers Guardian

Farmer riding quad bike on hill side

Portrait of dairy farmer for Farmers Guardian


Male farmer sitting in field with 3 sheep dogs and sheep in distance behind

Sheep farmer with dogs for Farmers Guardian

Male farmer leaning on Land Rover with red flag of military firing range in background

Portrait of beef farmer on Salisbury Plain army range for Farmers Guardian

Free range hens

Ben Reynaldo and his free range poultry unit for Farmers Guardian

Portrait for Farmers Guardian

Portrait for Farmers Guardian

Portrait of tractor driver

Portrait of tractor driver for Farmers Guardian

Portrait for Farmers Guardian

Emma Smith - editor Youngstock magazine

Emma Smith – editor Youngstock magazine

Portrait for Farmers Guardian

Portrait for Farmers Guardian

Portrait for Farmers Guardian

Portrait for Farmers Guardian illustrating Black Lion sheep milk vodka

Portrait for Farmers Guardian

Portrait for Farmers Guardian

Portrait for Farmers Guardian

Portrait for Farmers Guardian

Portrait for Farmers Guardian

Portrait for Farmers Guardian

Portrait of farmer

Portrait of Tim, Kingsclere Estate for Farmers Guardian

Rob Addicott - Manor Farm near Wells for Farmers Guardian

Rob Addicott – Manor Farm near Wells for Farmers Guardian


Will and Dawn Hawking, owners of Marshfield Farm Ice Cream

Will and Dawn Hawking, owners of Marshfield Farm Ice Cream

Farm Profiles

Agricultural photography

Farm profile for Farmers Guardian

If I am asked to photograph a farm profile, I normally try to document every aspect of the farm to provide an in depth record of the business and the people behind it.

Farmer with flock of sheep

Farmer and sheep for Farmers Guardian

Hand shearing

Hand shearing for Farmers Guardian


Hand shearing

Hand shearing for Farmers Guardian

Golden labrador from above

Gwen the farm dog

Market

Market photography is very different to farm photography. The pace is fast and there are normally people and animals everywhere. Moving around the market quickly is difficult so you often need to find a few good spots to work in before the auction starts, and introduce myself to the auctioneers well ahead of the main event.

An auctioneers gavel (hammer) at Frome Lifestock Market

Frome Lifestock Market – auctioneer for Farmers Guardian

Sheep at the market

Sheep at the market for Farmers Guardian


Diversification

Quite a few of the farms I have worked at have diversified into other product lines or services from ice cream and cheese to clamping pods. While I am on the farm it is normally quite easy to pull out a set of lights and set up a temporary studio in a barn or farmhouse kitchen to get some product shots or portraits of the staff or owners of the farm.


Picking strawberries in poly tunnel

Picking strawberries for Farmers Guardian

Sorting and packing strawberries

Packing strawberries for Farmers Guardian

Sorting and packing strawberries

Sorting strawberries for Farmers Guardian

Community Garden - part of Elims Direct Access Community (DAC) for rough sleepers at Manor Farm near Wells

Community Garden – part of Elims Direct Access Community (DAC) for rough sleepers at Manor Farm near Wells for Farmers Guardian


Agricultural machinery

Images of machinery for advertising, promotion and editorial applications. Robotics and automation are playing an increasing role on the farm and I have included some images of agricultural robotics below. More images of agricultural machinery can be seen on this page of my website.

JCB Fastrac new and old versions compared

JCB Fastrac new and old models compared

JCB Fastrac review image

JCB Fastrac review image

Merlo - eworker electric tele handler

Merlo – Eworker electric tele handler for Farmers Guardian

Merlo - Eworker electric tele handler

Merlo – Eworker electric tele handler for Farmers Guardian

Case Axial Flow 250 combine harvesting wheat

Case Axial Flow 250 combine harvester for Farmers Guardian

Agricultural robots and automation

Lely Grazeway automated gate

Lely Grazeway – automated gate

Lely Astronaut - robotic milking machine

Lely Astronaut – robotic milking machine

Lely Astronaut - robotic milking machine

Lely Astronaut – robotic milking machine

Mullerup - automated mix feeder

Mullerup – automated mix feeder

Lely discovery robot cleaning cow shed

Lely discovery cleaning cow shed

Pastures & crops

Herbal ley on Salisbury Plain military range

Herbal ley on Salisbury Plain military range

More information on agricultural photography

If you would like to know more, give me a call or drop me an email

Agricultural clients include; Dairy Farmer, Farmers Guardian, NMR, Cow Management Magazine, Marshfield Farm Ice Cream.

Overview of Nova Darkroom Tent and adaptations

Introduction

I often have to deliver on-site darkroom training to individuals and organisations who do not have an existing darkroom or space which can be converted temporarily into one. Over the last few years, my solution has been to take my own small portable darkroom along with all of the normal printing and film processing equipment. When I was researching darkroom tents a few years ago, I remember struggling to find much information or reviews to help me make my decision. My clients would also tell me that they had struggled to learn more about temporary or portable darkrooms. To fill the gap, I thought I should put together a page that records my experience with portable darkrooms, specifically the Nova Darkroom Tent and the modifications I have made to it.

As far as I am aware, the two most popular purpose built darkroom tents currently on the market in the UK are the Ilford Pop-up darkroom and the Nova Darkroom Tent .  Some people have had success converting tents designed for other applications. One of the cheapest alternative darkrooms are grow tents,  these have highly reflective interiors and designed mainly for ‘specialist’ forms of horticulture. Some photographers have converted ice fishing tents, these are designed to be erected and packed away frequently so may be more robust than the grow-tent solution.

Around 15 years ago, I was loaned a Nova tent which I believe had been used previously by the military as it had a few ‘non-standard’ modifications. When it came to buying one myself, I bought the Nova as it was the product I was familiar with. I have no experience with the Ilford version so I will mainly be looking at the Nova though some of my adaptations may also be possible with the Ilford model.

Nova Darkroom Tent set up in domestic setting

Nova Darkroom Tent, set up and ready for use

The Nova tent comes in a large bag with a draw string at the top but no carrying handles or shoulder straps. The fabric used to make the darkroom is quite thick and the frame is mainly made from strong metal tubes, there is also a large electric fan so the whole package is quite heavy and without handles isn’t easy to carry. I probably wouldn’t want to take the Nova up a mountain or off-grid, as the fan needs mains electricity. During my research into darkroom tents, I found a video by someone that has used the Ilford version on location for wet collodion photography. Pictures of the bag supplied with the Ilford model show that it comes with carrying handles.

Inflating the tent

The first step is to attach the fan and plug it in, if the door is zipped shut and all the ports are closed it should soon start to inflate. The fan is very quiet and quite slow so helping to unfold the tent and supporting the weight of the material helps to speed up the process. After about 10 minutes, I start to attach the frame to the inner. The tent should be fully inflated and supported by the frame after around 15 minutes. The fan can then be switched off and then only used when you need ventilation inside. The tent has a long ‘flue’ to vent fumes, one end emerges from a hole in the centre of the ceiling, the other end has a zip to close the flue for inflation and can be directed through a nearby window if required.

Nova tent - air inlet and vent

Left, air inlet with fan. Right, air outlet from centre of ceiling.

Setting up a Nova Darkroom Tent – time lapse video

Dimensions

The exterior dimensions of the tent are 117 cm wide, 117 cm deep and 200 cm high. The interior is approximately 104 cm x 104 cm and around 200 cm high as the fan lifts the ceiling when it is switched on. In addition to the air inlet, there are two light tight sleeves to allow cables into the tent, one at the bottom of the tent and one half way up. There is also a ‘window’ which can be opened from inside to allow external light to illuminate the interior, this can be really useful in the early stages of fitting out the tent before any lighting is connected up. There is a floor to ceiling zip (with velcro backing) running up the middle of the tent for access which is completely light-tight, I have found that the zip seems to get stuck quite easily so I avoid using it if I can (more about this at the bottom).

Cable entry points and window.

Interior

As you would expect, the inside of the darkroom is little more than an empty black box. Originally, the tent had a large white fabric pocket on each side which might hold a box of paper or other large flatfish lightweight items. I was worried that the white material might reflect stray light from the neg carrier onto the baseboard and so I have removed these pockets. Apart from the pockets, there were no obvious places to support items such as safelights, timers etc.

I assume that most people will be using these darkrooms to house an enlarger so a table would be one of the first additions. Nova offers their own table that fits the darkroom. I picked up a really solid 4 foot wide camping table for around £20 which fits perfectly in the tent.

Sadly, there is no way I could squeeze my De Vere enlarger into the tent so, as my main reason for using the darkroom is to take it out on the road I normally use a much smaller LPL C7700 enlarger in the tent. I really wouldn’t want to use anything larger than this as the top of this enlarger’s column still touches the ceiling of the tent.

Arranging the workspace

The first time I used the darkroom I realised that there wasn’t really enough space to have the enlarger and three 10″ x 8″ trays in a row. I needed to find a way to save some space and separate the wet and dry areas in the darkroom.

Nova darkroom tent showing set up with and without tray rack

Left image shows 3 trays in a row. Right, three trays on home-made rack

I can remember Jessops once sold a rack to hold three 10″ x 8″ trays above each other which was great for smaller darkrooms. Sadly these are no longer available so I had to improvise. I found what I think must have been a shoe rack in a charity shop for £5 which was the exact width of a 10″ x 8″ Patterson tray, all I had to do was cut off a couple of the lower shelves. This solution saved loads of extra desk space and provides some separation between the wet and dry areas. Eventually I will make or find another rack to support 16″ x12″ trays.

To provide a bit more storage space I picked up a cheap, wire shelf that hangs below the underside of the table which will easily accommodate boxes of 10″ x 8″ paper, scissors, lenses, filters, negative, sleeves etc.

Under table wire shelf in Nova darkroom tent

Under table wire shelf

Safelights

I didn’t want table mounted safelights so I sewed some loops into the top corners of the tent made from old bits of webbing. I then attached loops of strong cord to the back of a couple of small safelights and used carabiners to link the lights to the ceiling of the tent, waterproof switches were then added to each of the cables where I could reach them. A white light has also been secured to a corner in the same way.

Darkroom timer

While I could easily use my phone as a timer I always like having a proper clockwork timer in my darkroom. With limited table space, I thought I would try to attach a small timer to the ‘wall’ of the tent. I had an old Smiths timer which had lost its base. I used pop rivets to attach some webbing to each side of the timer and fix velcro to the ends, hooks on one side loops, on the other. I then sewed a couple of lengths of velcro onto the wall. It was self adhesive but, the timer is quite heavy and the last thing I want is a timer to fall into a developing tray so I also secured the velcro to the wall with some more of my very amateurish stitching. I can also use this timer in my permanent darkroom by joining the ends of the webbing together to make a strap which can be hung from a magnetic hook on my drying cabinet.

Smiths darkroom timer in Nova tent

Modifications to an old Smiths timer showing it fixed in tent and in permanent darkroom.

Drying prints in the tent

After fixing, prints are left temporarily in an orange water bucket (so I can see it) under the table. The prints are then taken to a nearby sink for final washing. If required, I can dry the prints in the darkroom. Crocodile clips can easily clip to the large seams between the ‘walls’ and the ‘ceilings of the tent. The fan doesn’t have an air filter so I would be reluctant to dry film in the tent unless it is kept closed for several hours with the fan off and nobody goes into it.

Prints drying in a Nova tent

Prints drying on line attached to tent using crocodile clips.

Tent floor

The tent floor is made from the same material as the walls and ceiling and I would be a bit worried about damaging the fabric with the feet of the table or stools. I also found that if I dropped something on the black fabric floor it was very hard to find it again unless I switched the lights on. I found some large, colourful, interlocking foam rubber floor tiles which I think are for children’s play areas and cut them to the size of the space. The tiles are comfortable under foot and should reduce stress on the floor.

Foam rubber floor in tent

Entry zip

I have found that the main entry zip sometimes needs a bit of persuasion to open or close and the velcro behind it has started to separate from the material. I am a little worried that this might be a future point of failure so to minimise use, I hang a large 2 meter length of black velvet from the metal frame above the door which covers the entrance and blocks out almost all stray light. I now only use the zip if I am working with film or there is a lot of ambient light.

Final thoughts

The tent is very well made and should last me a long time. It is also very easy to modify (and I am sure the same is true for the Ilford model). My modifications have made it a much more comfortable place to work for extended periods. A well laid out, small darkroom can be a very pleasant place to work in, with everything in reach from a comfortable seated position. The ventilation offered as standard with the Nova tent is also a very welcome feature.

I am sure there are still things that I will do to the tent to make it better still. A replacement bag that is much stronger and has some carrying handles is top of the list. A rack to hold 16″ x 12″ trays would also allow me to make larger prints in the tent.

I am planning to use the tent in artists residencies which are often based in art galleries or other large, open spaces. I believe that the metal frame is strong enough to support an outer ‘skin’ which could be made from flexible melamine boards clipped to the tubular frame or fabric hung from the horizontal bars at the top. These temporary panels could provide information about a project to visitors, provide a white board or projection screen for workshops or training and a small gallery wall to display work. Watch this space……….


1 Comment

Linear economics and the throwaway society

This is an image from a project I have been working on for some time on linear economics and the throwaway society. The image in this post is a close up of a damaged TV screen that I picked up on eBay. The damage area also captures a moment of acute anguish for the previous owner. The screen would have been part of a production run of many hundreds of thousands of identical units. In a single moment, the accident created something that was unique and one of a kind but also valueless.

Smash! Gif taken from HD video

Smash!

The edited video is displayed simultaneously on two large damaged plasma TVs. The video below shows Smash as it was displayed in a group exhibition in the Sion Hill Gallery in Bath.

Time to upgrade the old trolley

The case for a new location trolley

I know a lot of photographers who have back pain thanks to a career of carrying heavy equipment for long periods of time, loading and unloading countless cases and bags, crawling around on the ground to get low angle shots or craning their necks and backs to operate an elevated camera or light. When budgets allow, I hire an assistant to share some of this work but, thanks to the pandemic, limitations on the number of people allowed in indoor spaces has meant that I have had to do most interior shoots on my own and literally shoulder all the carrying myself.

small folding trolley loaded

My old trolley loaded and ready to fall over

I have had a small folding trolley for years which packs completely flat and carries two or three square shaped cases but as soon as you put a couple of tripods, light stands or reflectors on it, the whole thing becomes totally unstable. I needed a solution that could carry everything I required in one go without tipping over and that would be reasonable compact when stored.

My research

I have not gained commercially from writing this, I just felt that I should share my research and experience and possibly save others some time as well as visits to the chiropractor.

I recall when I first started carrying a lot of equipment around in the 1990s, the professional photography shop KJP, which became Calumet published a huge A4 professional catalogue which devoted a couple of pages to location trolleys. It would have saved me a lot of time and effort if I had kept one of those old catalogues, The products listed in the catalogue had all been selected with the photographer in mind, they were strong, could take a lot of abuse and would fold up to go in the average car. When I Googled location cart / trolley or photographer’s trolley most of the results were bulky, cheap, unstable or just not fit for purpose. I thought I would do an image search with the aim of finding something that looked similar to the images I remember from the old KJP catalogue. Eventually, I found a review of folding carts for festivals which included the Dura-cart, a British made folding cart made from aluminium that looked quite tough and folded up for storage or transport in a car. The Dura-Cart was 90 cm wide when in use which would go through my garden gate but not the front door of my house. The Dura-Cart site clearly described the product and its features but before I press the ‘buy now’ button for a product of this value on an unfamiliar website, I like to see a physical address or other business information on the website. For the reassurance of the Amazon buyer protection programme, I purchased the item from the company via the  Amazon Marketplace. The trolley arrived on a Saturday, the day after it was ordered.

UPDATE 24/10/21

The Dura-Cart site seems to be down and Amazon is out of stock. Hopefully this is a temporary issue and they will be available again. I will update this post if I hear anything. 

After sales

The after-sales service from Dura-Cart was brilliant, I had a couple of questions about the item which I emailed  on the Saturday expecting a response no sooner than the following Monday. Craig from Dura-Cart answered my email first thing on a Sunday morning!

Setting up the Dura-Cart

The cart takes seconds to unfold, basically you move the wheels away from each other, unfolding the chart and creating a flat base. There are two identical aluminium panels, one for the back, one for the front. These slide into grooves which stops the cart from folding up. The handle which is in two parts can then be released from its stowed state and secured with a locking bolt. Four bolts attach the handle to the cart when in use.

In use

My first job for the Dura-Cart was filming at the Bristol Robotics Laboratory in Bristol. My kit for the job included; a camera case, lenses, two lighting kits, large black drapes, a pop-up green screen, stands, tripods, sound mixer, blimp, clips, tapes, laptop, and extension cables.

Equipment unloaded

Equipment unloaded

The trolley carried all of the equipment without issue, the lighting stands were too long to sit inside the cart so they had to lay on the top in a soft stand bag. To keep everything in place, I used bungees wrapped around the tubular frame of the Dura-Cart.

Dura-Cart loaded with equipment

Dura-Cart loaded with equipment

The cart carried everything I needed with room to spare. It was stable and would go through most doors in commercial spaces. While I mainly bought the trolley for interior location work, its stability and large wheels would also be useful in shifting equipment to some exterior locations and provides a working platform above the dirt, dust and mud.

On my second trip to the location, I added a ladder, a soft box, a dolly and a ski bag (holds the track for the dolly). Securing everything with bungees the trolley carried everything with ease though the tyres show some evidence of the weight they are carrying.

Fully loaded car boot

Car boot fully loaded with back seats down, folded trolley on the right side.

Fully loaded trolley on location. The tyre needs some air.

Dura Cart fully loaded

Wheeling the Dura-Cart through an industrial building.

The cart in storage

When folded the trolley is about a quarter of its working width. While the trolley is mostly made from aluminium, it is still quite awkward to carry when folded. It is possible to wheel it in its folded state on flat ground if you are moving it through narrow doorways etc.

View from above of Dura-Cart in its folded state

View from above of Dura-Cart in its folded state

The two end panels must be removed when the trolley is folded. I couldn’t see any obvious places to store the panels and could imagine them being separated in my sometimes chaotic studio. To try to keep them together, I used heavy duty clips to pinch the panels against the side of the trolley next to the wheels. These clips are used a lot on set to secure drapes, cables and reflectors so it is good to put them to work as they are coming with me anyway.

Dura-Cart folded with end panels removed

Dura-Cart folded with end panels removed


Clips attached to tubular frame to secure end panels while stored

Clips attached to tubular frame to secure end panels while stored

Side view of folded Dura-Cart showing clips securing end panels

Side view of folded Dura-Cart showing clips securing end panels

Summing up

I believe that if I had saved the money and bought one of the cheaper ‘festival’  trolleys I would soon be suffering from buyer’s remorse. While the Dura-Cart is considerably more expensive than most of the other folding trolleys, I believe it is well made and should endure the rough and tumble of daily use. When things return to normal, I believe my assistants will also thank me for it.


LinkedIn
Instagram